
Organize projects
Use Groups
A Group collects related projects, such as the screenshots for one app or one release, so you can find them together, give them the same look, and export them as a set.
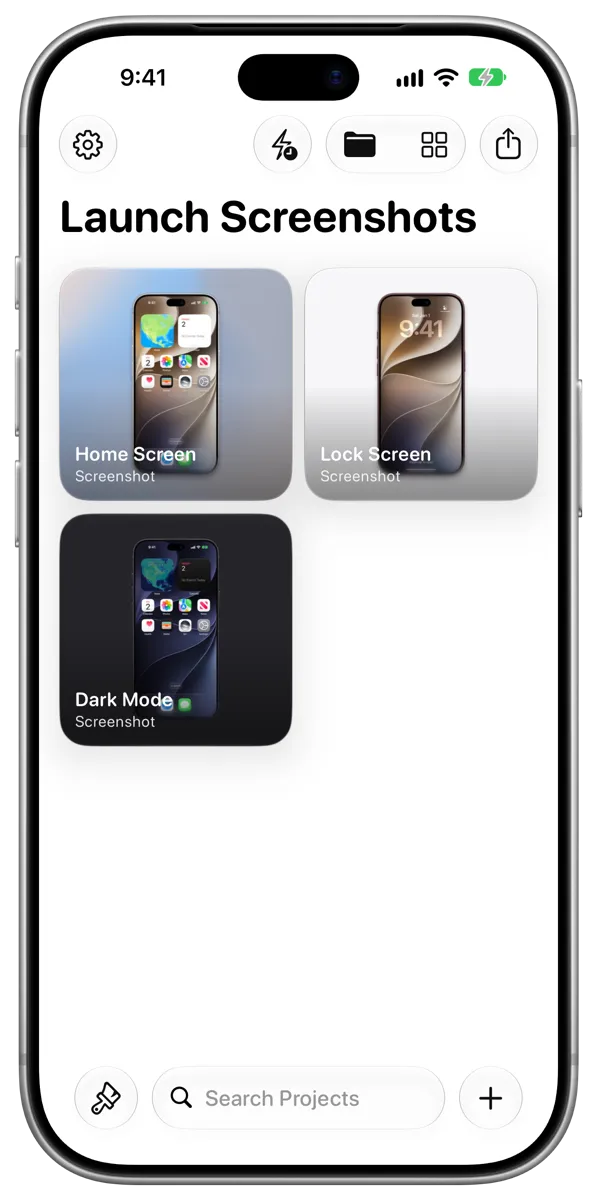
#Create a Group and add projects
-
In your library, touch and hold a project (or Control-click it on Mac), then choose Add to Group. To add several at once, select them first. See Rename, duplicate or delete projects.
-
To make a new Group, enter a name under New Group, then tap or click Create. Or choose an existing Group.
Frames shows the Group with your projects in it. A project can be in more than one Group.
With Frames Pro, you can also import a batch of screenshots straight into a new Group. See New Group from Photos or Files.
#Open a Group
On iPad and Mac, choose the Group in the sidebar. On iPhone, tap the Collections button, then choose the Group.
While you’re browsing a Group, anything you add to your library is added to that Group too.
#Remove projects from a Group
While browsing the Group, touch and hold a project (or Control-click it), then choose Remove from the Group. The project stays in your library.
#Rename or delete a Group
On iPad or Mac, touch and hold or Control-click the Group in the sidebar. On iPhone, do the same in the Collections list. Then choose Rename or Delete Group.
Deleting a Group doesn’t delete the projects in it. They stay in your library.
#Do more with a Group
- Give every project the same look: See Sync Style across a Group.
- Export every project at once: See Export a Group.