
Get started
Frames at a glance
Frames has two main places: your library, where every project lives, and the editor, where you change how a project looks.
#The library
Your library shows every project as a card, newest first. Each card is a small preview of the framed result.
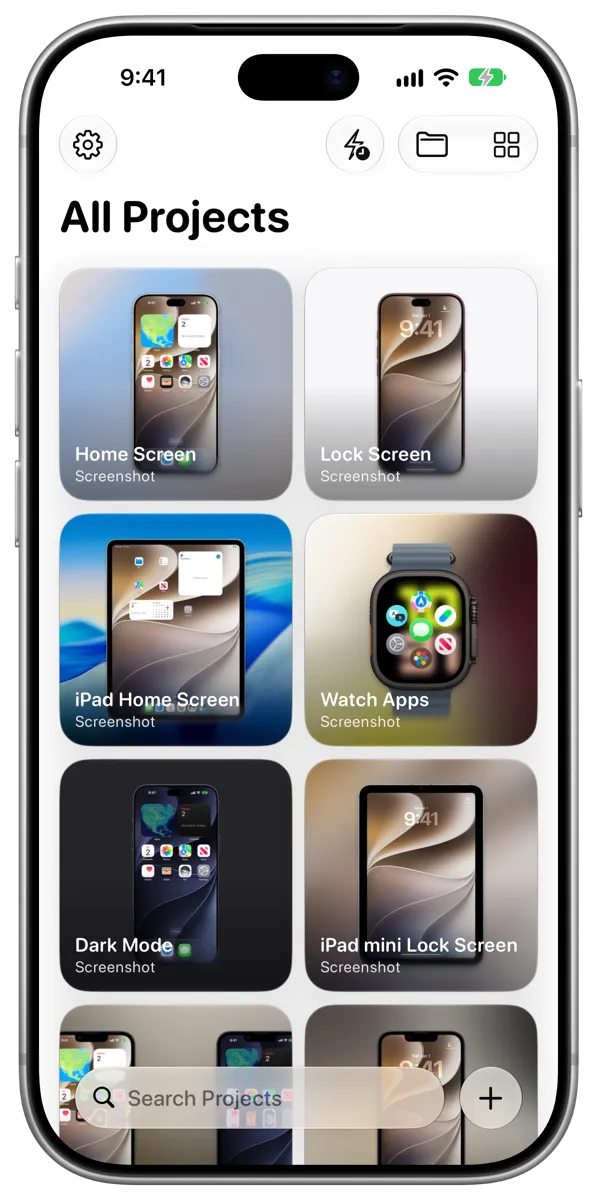
On iPhone, the buttons at the top of the screen open Settings, run Quick Frame, browse your Groups and collections, and change how projects are shown. The search field and the Add Project button are at the bottom.
On iPad and Mac, a sidebar lists your Groups, your projects sorted by device, and formats such as App Store screenshots and screen recordings. Search, Quick Frame and Add Project are in the toolbar.
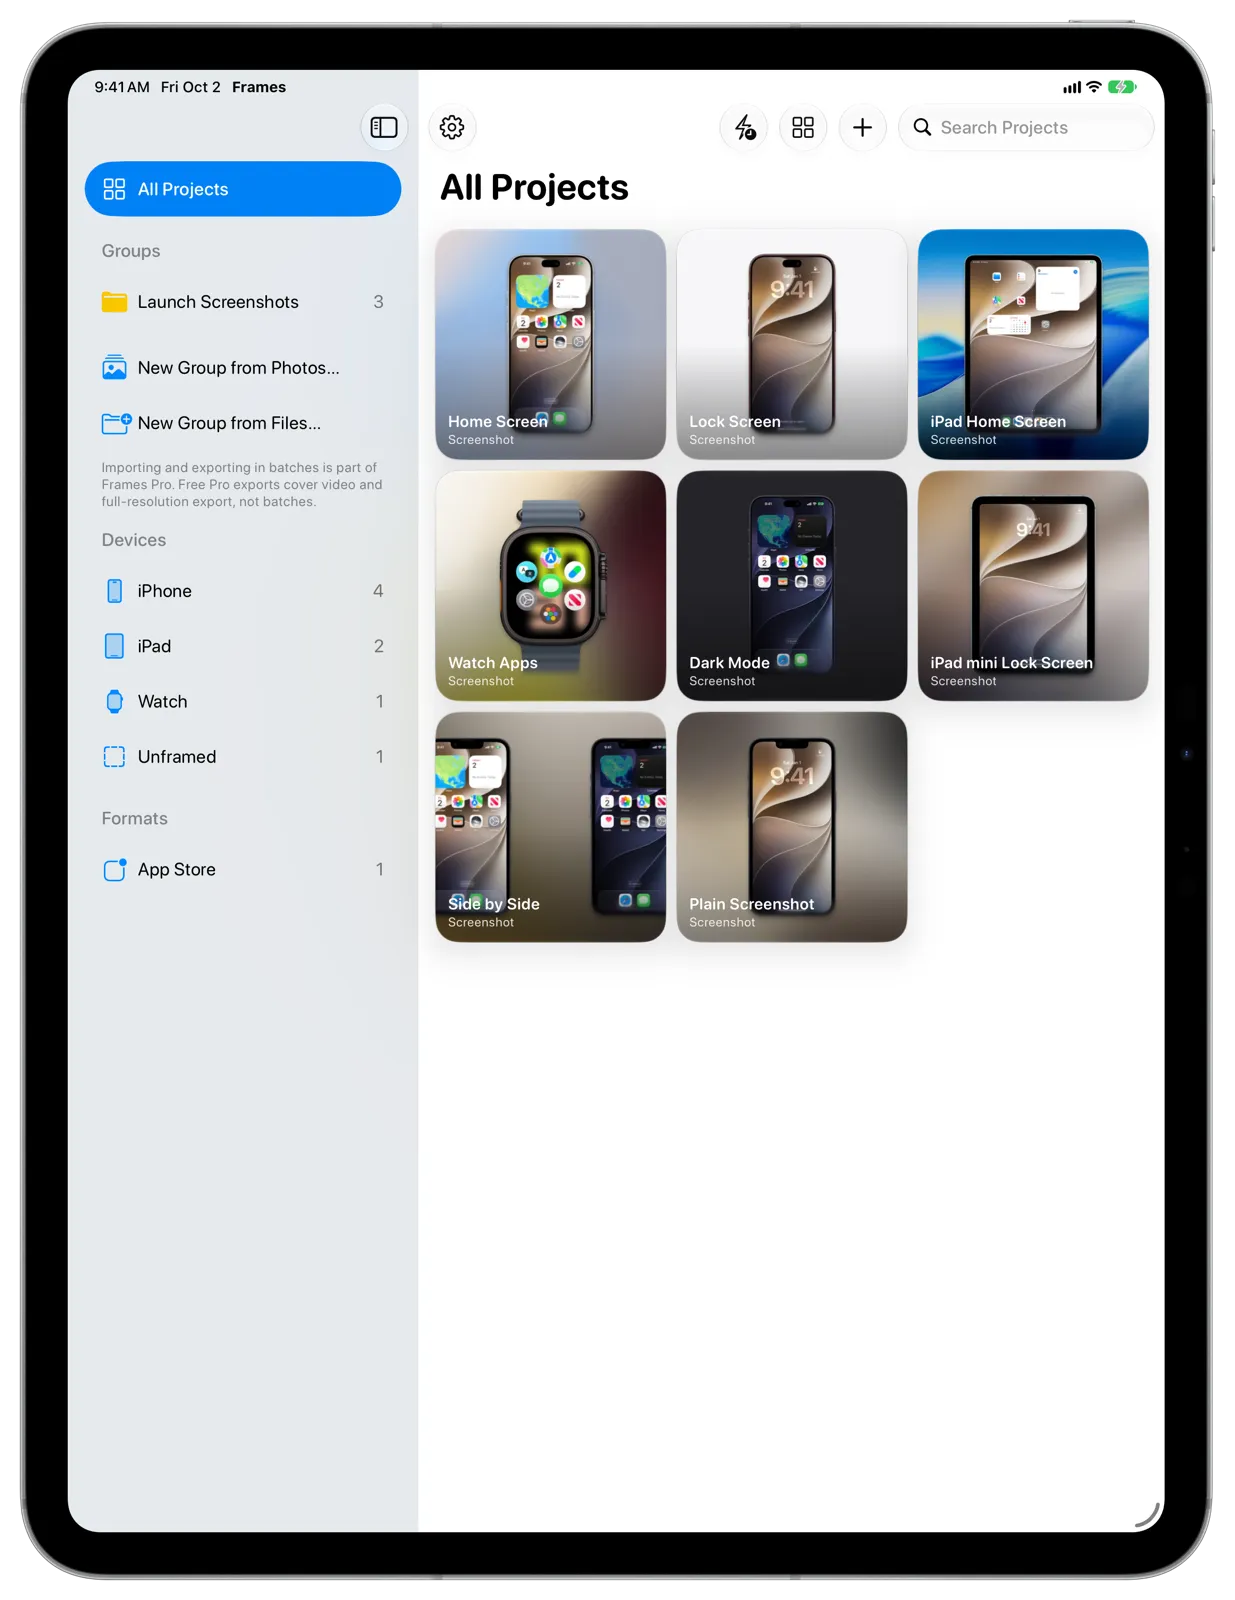
See Browse your library.
#The editor
Tap or click a project to open it in the editor. The preview shows exactly what you’ll export, and every change is saved as you make it.
The controls are grouped into sections:
- Preset: Apply a saved look, or save the current one.
- Frame: Turn the device frame on or off, choose the device and color, set the zoom and position, and show several devices in a row.
- Canvas: Choose the shape and size of the image, including Apple’s App Store sizes.
- Background: Choose a color, a gradient, a wallpaper or your own image.
- Shadow: Add a shadow beneath the device and adjust it.
On iPhone, Format (Preset, Frame and Canvas) and Style (Background and Shadow) are buttons at the bottom of the editor. On iPad and Mac, every section is in a sidebar beside the preview.
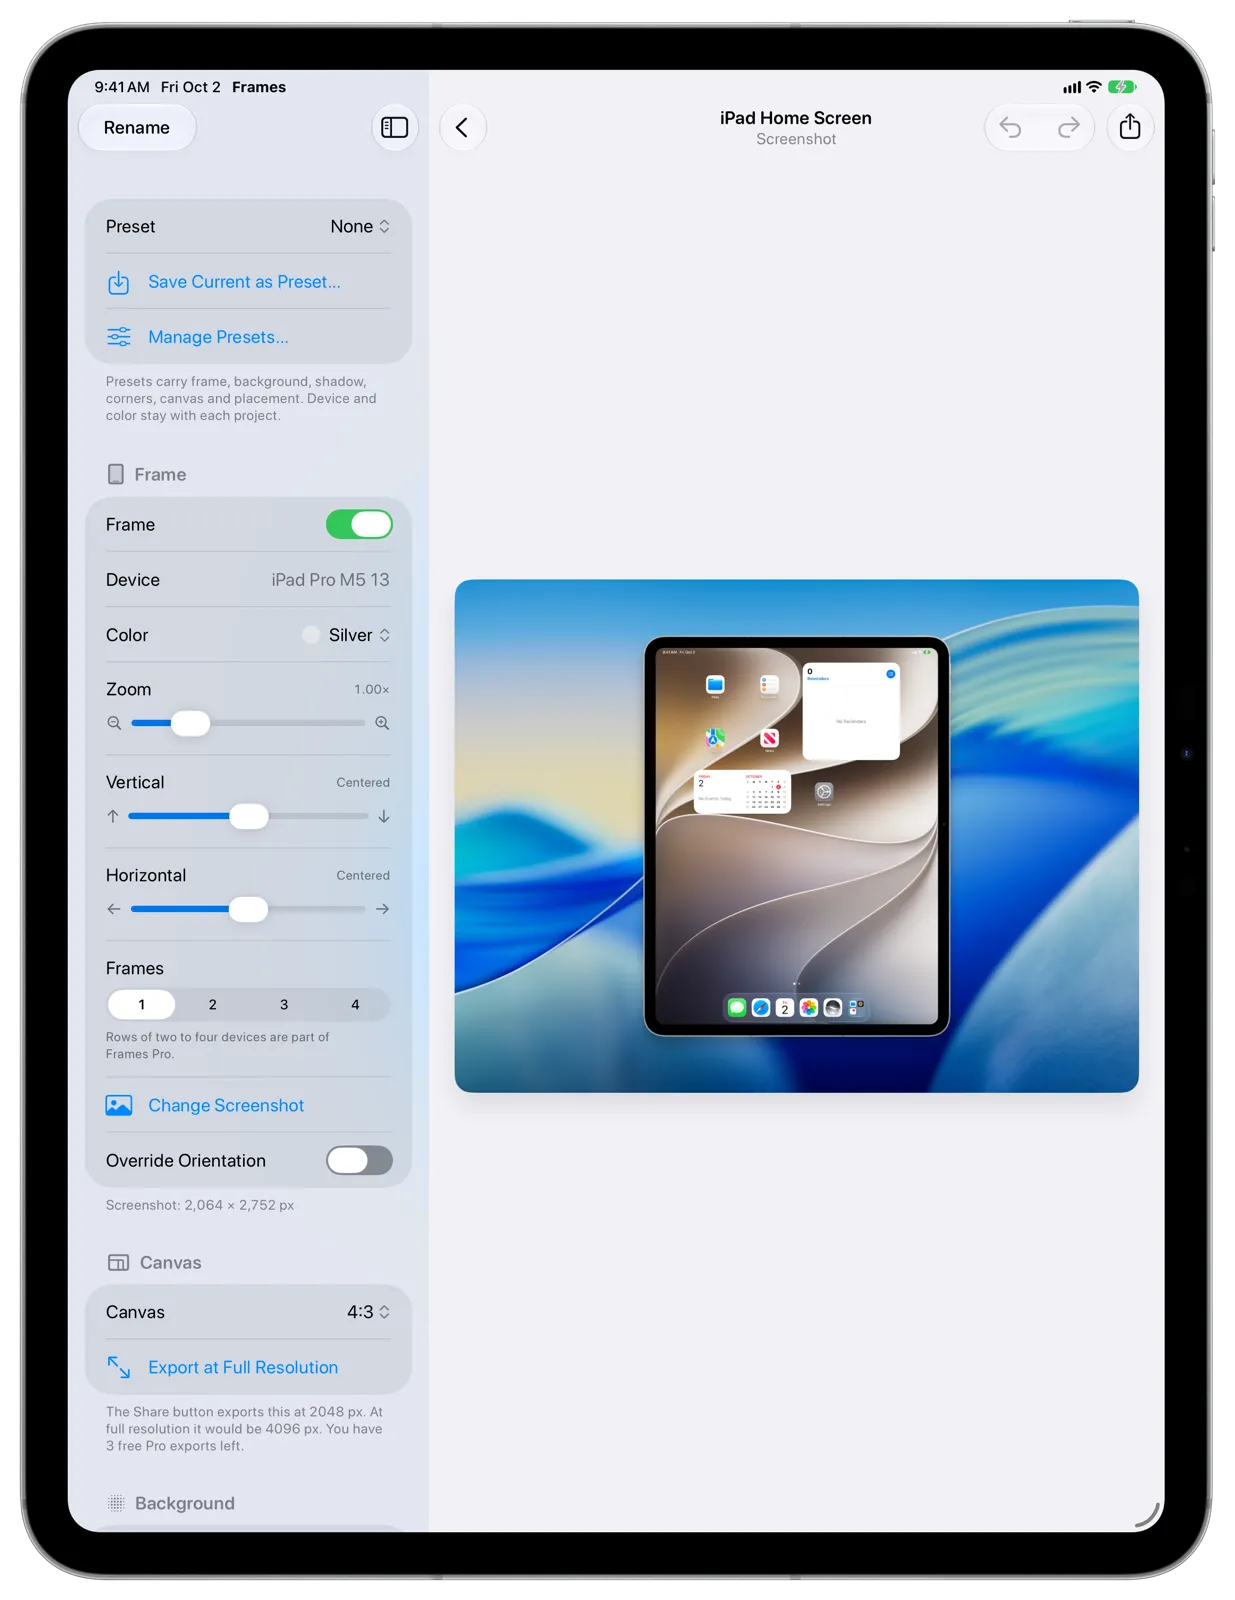
At the top of the editor you’ll find Undo, Redo and Share. To rename a project, tap Rename in the Format sheet on iPhone, or Rename above the sidebar on iPad and Mac.
#Settings
Settings is where you choose the export format, how new projects start, how Quick Frame works, and manage your presets and Frames Pro. See Settings.