
Frame screenshots
Frame a screenshot
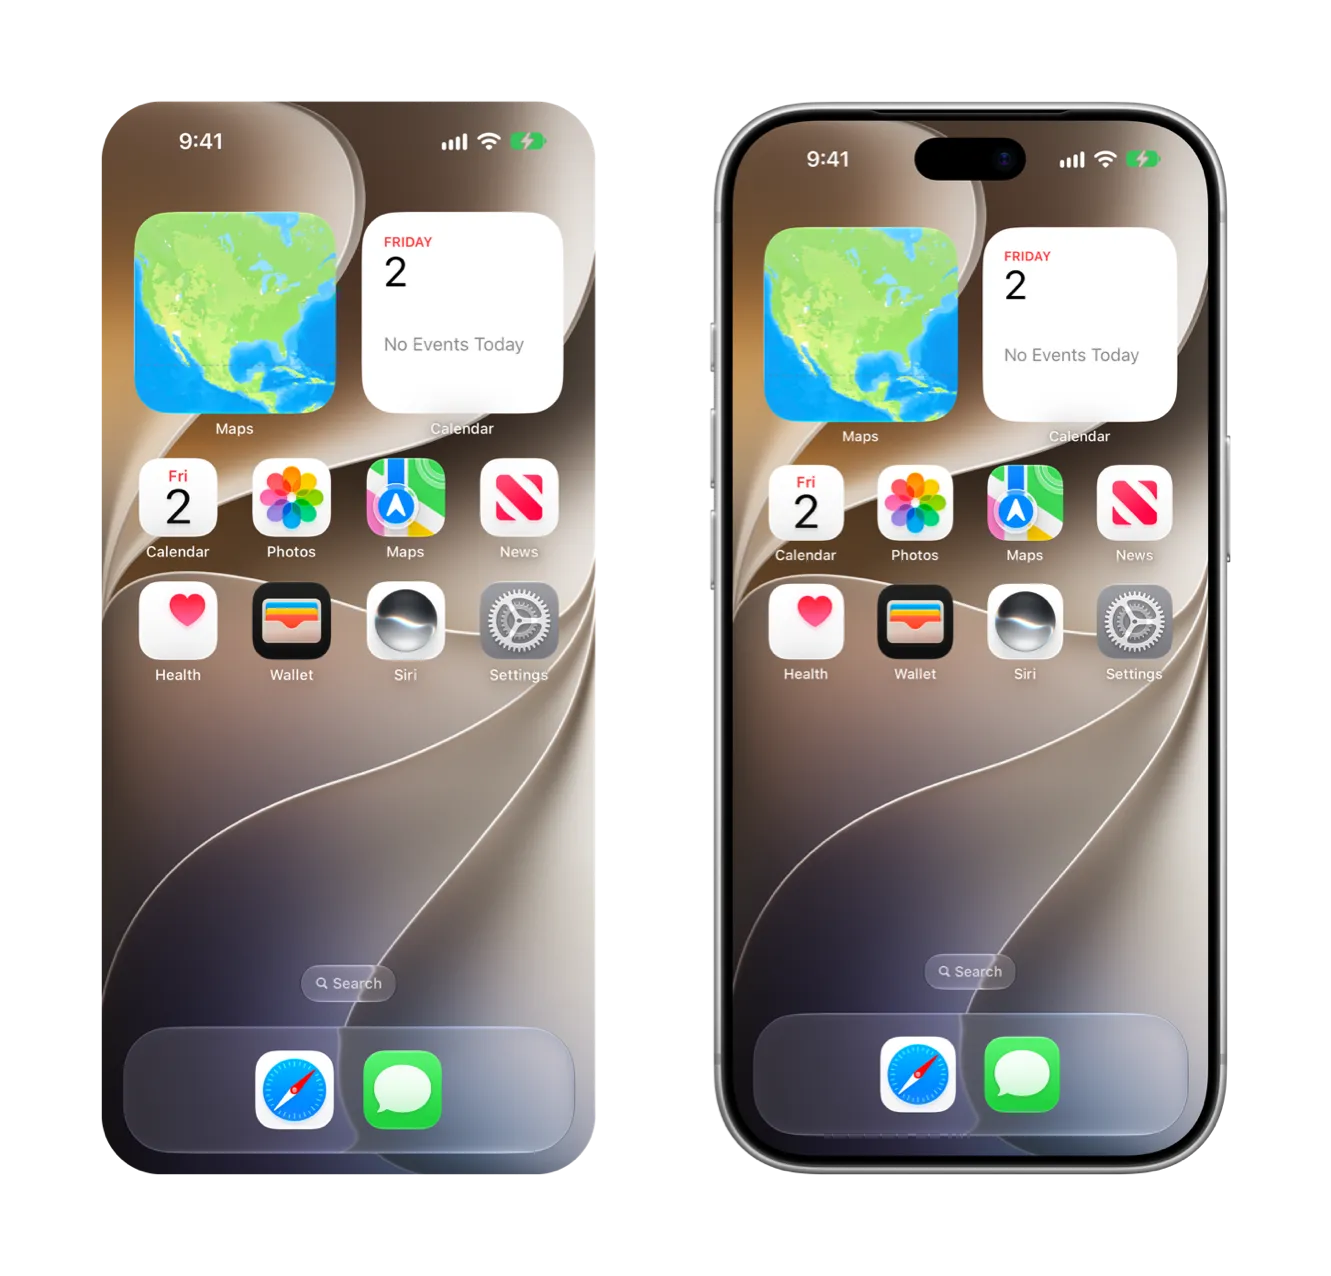
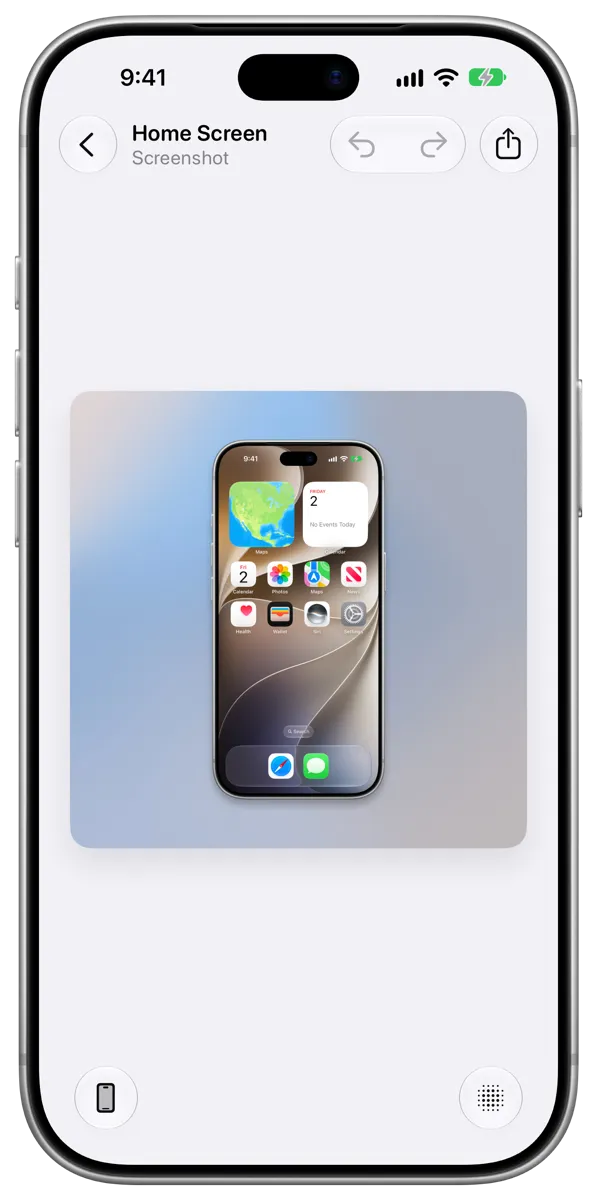
Every screenshot you add to Frames becomes a project. Frames works out which device took the screenshot, places it inside that device, and opens it in the editor so you can change the look and share it.
#Add a screenshot
You can add a screenshot from your photo library, from a file, or from the clipboard.
#On iPhone or iPad
-
In Frames, tap the Add Project button. On iPhone it’s at the bottom of the screen; on iPad it’s at the top.
-
Choose where the screenshot comes from:
- Open Screenshot: Choose from the screenshots in your photo library.
- Open Image: Choose any image in your photo library.
- Open File: Choose an image in the Files app, including iCloud Drive.
- Paste: Use an image you’ve copied. This is available only when there’s an image on the clipboard.
-
Enter a name for the project, then tap Create.
Frames opens the new project in the editor, with the screenshot already framed.
Tip: To skip naming, go to Settings in Frames, then turn off Name New Projects. Frames names each project for what it is, such as “iPhone Screenshot.”
#On Mac
-
In Frames, click the Add Project button in the toolbar, then choose Open File or Paste.
You can also choose File > Open (or press Command-O), or File > New Project from Clipboard (or press Shift-Command-N).
-
If you chose Open File, select an image. To use a screenshot from your photo library, click Photos in the Media section of the sidebar.
-
Enter a name for the project, then click Create.
The project opens in its own window.
Note: To add several screenshots at once, select more than one. Importing many at once is part of Frames Pro. See Import many at once.
#Check the device
Frames picks the device by matching the exact size of your screenshot, so you don’t need to choose one yourself. Some devices share a screen size, such as iPhone 17 Pro and iPhone 18 Pro. When that happens, Frames picks one of them, and you can switch to another in the editor. See Choose a device and color.
When you choose a different device or color, Frames remembers it for screenshots of that size, so the next one is framed the same way.
If a screenshot doesn’t match any device, the editor shows No Frame Found and the screenshot appears without a device. To learn why, see If Frames says “No Frame Found”.
#Share the result
When the project looks the way you want, tap or click the Share button at the top of the editor to save the image or send it. See Share or save an image.
Your projects are saved automatically, so you can come back to any of them later from your library.